How to make your first brew at home (without stuffing it up)
TL;DR:
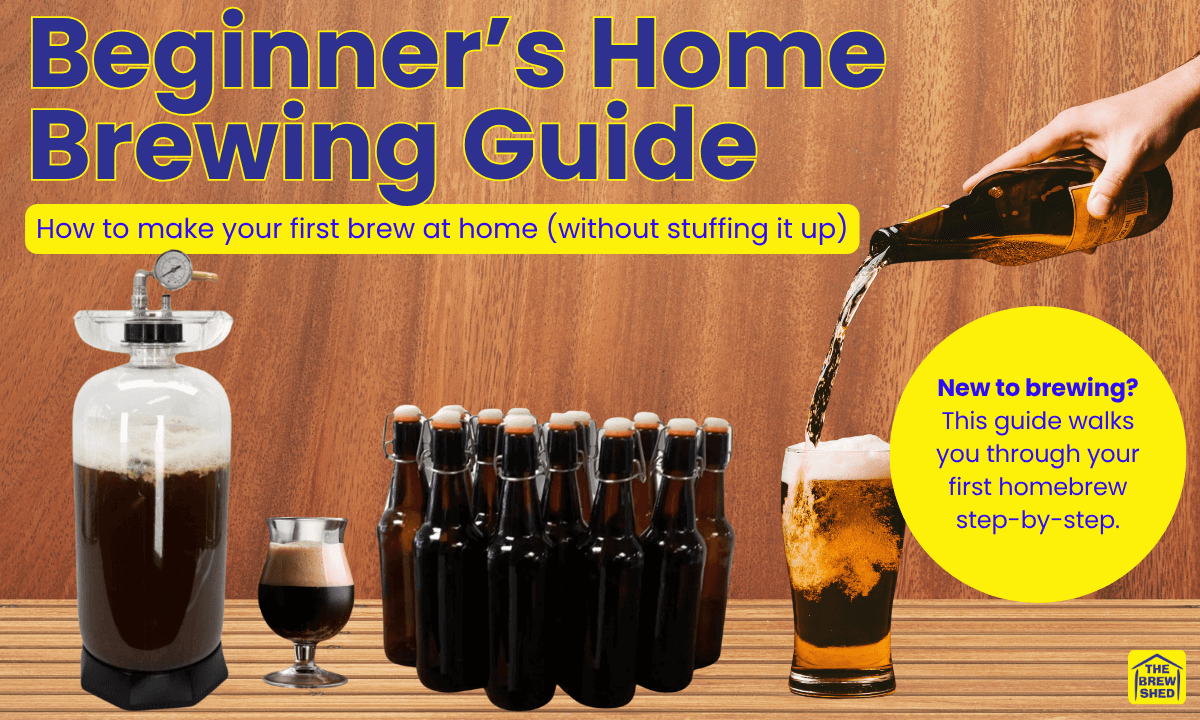
New to brewing? This guide walks you through your first homebrew step-by-step - what gear you need, how to get started, and what beginner mistakes to avoid. Brewing beer (or cider, or ginger beer) at home doesn’t have to be complicated - especially when you’ve got The Brew Shed in your corner. View our beginner-friendly collection here.
What is home brewing (and why are more Aussies getting into it)?

Home brewing is simply making your own beer, cider, ginger beer, or other drinks - at home, from ingredients you choose. No big factory needed.
For lots of people, it starts as a way to save money (hello, rising bottle-shop prices) and turns into a pretty satisfying hobby. Others get into it for the creativity, control over ingredients, or the joy of drinking something they made with their own two hands.
The Brew Shed makes it easy - simple, safe, tasty brewing.
What do I need to start brewing at home?
You can start small. Most beginners use either a starter kit (which includes everything you need) or purchase gear as needed. Either way, here’s what’s essential:
✅ Basic brewing gear:
-
Fermenter with tap & lid
-
Airlock (to let gases escape)
-
Sanitiser
-
Stirring spoon
-
Bottles or kegs
-
Hydrometer (optional but handy)
-
Brewing ingredients (like a beer, cider or ginger beer can)

💡 Check out all the products we recommend for beginners here.
You can upgrade later with fancy gear if you love it - but to start, you only need the basics.
🍻 Here’s the simple version. Brewing is a bit like baking - follow the steps, don’t mess with the order, and keep it clean.

🧼 Step 1: Clean and sanitise EVERYTHING
Sanitising is the golden rule. Anything that touches your brew - fermenter, spoon, bottles - must be squeaky clean and sanitised. Germs = gross-tasting beer.
🧪 Step 2: Add your ingredients
If you’re using an extract kit, this is where you:
-
Empty the brewing can into your fermenter
-
Add warm water and stir
-
Add any sugars or enhancers as instructed
-
Top up with cold water to reach the right volume
-
Pitch your yeast (just sprinkle it on top)
🌡 Step 3: Let it ferment
Pop the lid on, insert the airlock, and tuck your fermenter somewhere it can sit undisturbed for a week or two (depending on the brew).
Keep it at a steady temp - around 18–24°C is the sweet spot for most yeasts.
👃 It’ll start bubbling, maybe smell yeasty - totally normal.
🍾 Step 4: Bottle it up
Once it’s stopped bubbling (and you’ve double-checked it’s ready), it’s bottling time.
-
Clean and sanitise your bottles
-
Add carbonation drops
-
Fill ‘em up
- Cap the bottles
Store them somewhere cool and out of direct sunlight while they carbonate.
⏳ Step 5: Wait (the hardest part)
Give it at least 2 weeks to carbonate properly. Then chill a bottle, crack it open, and enjoy your very first homebrew 🎉

Common beginner mistakes (and how to avoid them)
Don’t worry - everyone mucks up their first batch somehow. Here’s what to watch out for:
-
Not cleaning gear properly - Off flavours
-
Too hot or too cold - Fermentation drama
-
Peeking too much - Let it do its thing
-
Bottling too early - Could cause gushing or worse
-
Wrong sugar type - Flat beer or bottle bombs
➡️ If you’re unsure, get in touch - we love helping new brewers avoid these hiccups.
FAQs for first-time brewers

Q: How much beer does a kit make?
A: Most standard kits make about 23 litres - roughly two cartons.
Q: How long does it take?
A: Roughly 2–4 weeks from brew day to drink day, depending on the recipe and conditions.
Q: Is it legal to brew at home in Australia?
A: Yes - beer, cider, ginger beer, and wine are all fine. Spirits are more tightly regulated. (We’ll cover that in a separate guide.)
Q: What if it tastes weird?
A: Could be temperature, contamination, or bottling too early. Ask us - we’ve seen it all.
Q: Can I brew something low-carb or gluten-free?
A: Yes! We’ll be covering this in a future blog - or pop into The Brew Shed and we’ll walk you through it.
So, where should you start?
Cider and ginger beer kits are often the simplest first brew - no hops to worry about, and fast fermentation. But if you’re a lager lover or keen to recreate your favourite beer at home, we’ve got options for that too.

➡️ Not sure what to choose? Visit or call - we’re happy to help.
What’s next?
This is just the beginning. Coming soon:
👉 Part 2 - Which kit is right for you + beginner-friendly recipes
👉 Troubleshoot with us in our private Facebook Group - All your “what went wrong?” questions answered
Or come in and chat to the team in one of our Brisbane stores, or Inverell - no silly questions here, promise.